As a savvy real estate agent, you’ve probably created at least one virtual home tour over the past few years.
While many clients are once again comfortable with in-person showings, knowing how to beautifully showcase your properties virtually is still an extremely important skill to have as a real estate agent.
Here, we’ll walk you through the benefits of creating virtual real estate tours and share tips for creating ones that delight clients and help you close more deals.
Find It Fast
What is a virtual real estate tour?
A virtual real estate tour is an interactive, convenient way for potential buyers to view a home on demand. Through the use of videos and 3D photos, anyone interested in looking at a home can navigate it with a mouse or touch screen and zoom, tilt, or pan to see the details.
Some real estate agents may opt to conduct tours using video call services such as FaceTime or Zoom. This allows them to personally walk interested parties through the house virtually and answer questions.
While the majority of what we’re speaking about here applies to self-guided interactive virtual tours, many of the tips still apply to these “live” tours.
The benefit of virtual tours

- They’re convenient. Virtual tours are incredibly convenient, allowing potential buyers to view a home whenever and from wherever they want. People are busy, and virtual tours give them the option to preview a home and determine if it’s worth visiting in person.
- They’re great for out-of-towners. For those living out of the home’s area, virtual real estate tours are a lifesaver. They allow these buyers to get a sense of a home without having to travel, whether they’re buying from afar or planning a trip to see properties they like.
- They show off your savvy. A well-done, interactive virtual tour is a great way to appeal to tech-savvy customers who are used to companies and apps delivering what they want on demand.
- There’s no time limit. In person, a client may feel pressure to keep moving through a home or get in and out by a certain time. With a virtual real estate tour, they can spend as much time as they like examining rooms and returning to them as often as they’d like.
- They save you time. In addition to saving your clients time, virtual tours save you time too. You no longer have to drive to every showing or spend time showing a home that a potential client wasn’t seriously considering in the first place.
- They drive engagement and traffic. Posting virtual tours is a great way to drive traffic to your website, keep people on your website, and boost your social media engagement.
- They can boost your sales. A study from Matterport found that, depending on the market, properties listed with a 3D virtual home tour closed up to 31% faster and sold for up to 9% higher on average compared to those without.
What does a virtual real estate tour entail?

Sharing beautiful home photography online is table stakes for real estate agents. The problem with even the best photographs, though, is that they’re static and often don’t give you a good grasp of a home’s space or layout.
Virtual tours, on the other hand, use 3D technology and shifting viewpoints to guide visitors through a 360-degree rendering of a home. Most tours include schematics, floor plans, and a dollhouse view to give visitors a comprehensive look at every room.
How to create a virtual real estate tour
1. Gather your equipment
First things first, you need a camera. Ideally, you’ll have a 360-degree camera or a professional DSLR, but any quality digital camera or even a high-quality smartphone can work.
With a DSLR camera, you’ll also want a fisheye lens so you can capture 360-degree panoramic images. A tripod with an attachment for panoramic photos will deliver better results and make your photography easier, and a timer or remote will keep you out of the camera’s field of view.
You can also purchase a 360-degree camera with a tripod or a kit specifically made for virtual tours.
A quick note: If any of this sounds intimidating, you can absolutely hire a professional to help, from taking photos to creating the entire tour for you.
2. Set up your virtual software
For editing purposes, you’ll want a capable computer with software that allows you to edit photos. Some editing apps are also available for iOS and Android devices.
When it comes time to put together your tour, these are some of the software programs we recommend:
Matterport
This is a popular tour software program for real estate professionals, thanks to its realistic, immersive virtual tours that make viewers feel like they’re actually in the home.
Matterport is easy to get the hang of and can be used with a variety of cameras, from iPhones to professional-grade 360-degree cameras.
The software lets you create detailed floor plans, take measurements, generate 3D tours, create 4K quality images, and program guided video tours. Once finished, you can easily upload your tour to a website or social media platform.
Zillow 3D Home
Zillow 3D Home is free and designed to work with iOS and Android devices. Images are lower resolution and take longer to scan than in Matterport, but it’s an excellent starting point that requires minimal investment.
3. Plan your photos
Before you start taking photos, create a shot list to ensure you capture everything you need. List the rooms you want to highlight and the best angles to showcase each room.
Like any tour, start from the outside. Introduce prospective buyers to the home’s exterior, the street, the driveway, the porch, and any other elements that add to the curb appeal. If you’re up for it, you can even take a bird’s eye view of the property with a drone.
Most rooms require a single 360-degree photo, but others might need additional shots to enhance the experience. And remember that you want the transition between rooms to be smooth, simulating an actual in-person tour experience.
4. Clean and stage the home—or consider virtual staging
Staging is just as important for virtual tours as it is for in-person ones. The camera can be unforgiving to details like streaky windows, and overlooking minor issues can turn away potential buyers.
If actually staging the home isn’t realistic, there are many apps and software programs that do impressive virtual staging.
5. Test your lighting and equipment
Lighting can make or break a virtual real estate tour. While images may look great on your camera or phone, minor details can be more obvious on a laptop or LED monitor.
Poor lighting can completely change the way a room looks, and you may need to add more light than you usually would if you showed the house in person.
So take the time to experiment with lighting before you start taking pictures or filming. Test your camera settings to ensure the lighting and color are true to life.
Take a walk through the house to figure out what light you need and where, and how you can highlight natural light wherever possible. Make sure to open the blinds and turn the lights on ahead of time.
Also take a few moments to ensure your camera, timer, remote, and tripod work properly before beginning your shoot.
6. Create your tour and start sharing!
After you’ve taken and edited your photos and videos, you can upload them to the virtual tour software of your choice. Again, if you use a good software program, creating the tour should be a piece of cake.
Once your tour is created, it’s time to share it! From promoting your virtual tours on social media to including them in emails to showcasing them on your real estate website, put them to good use.
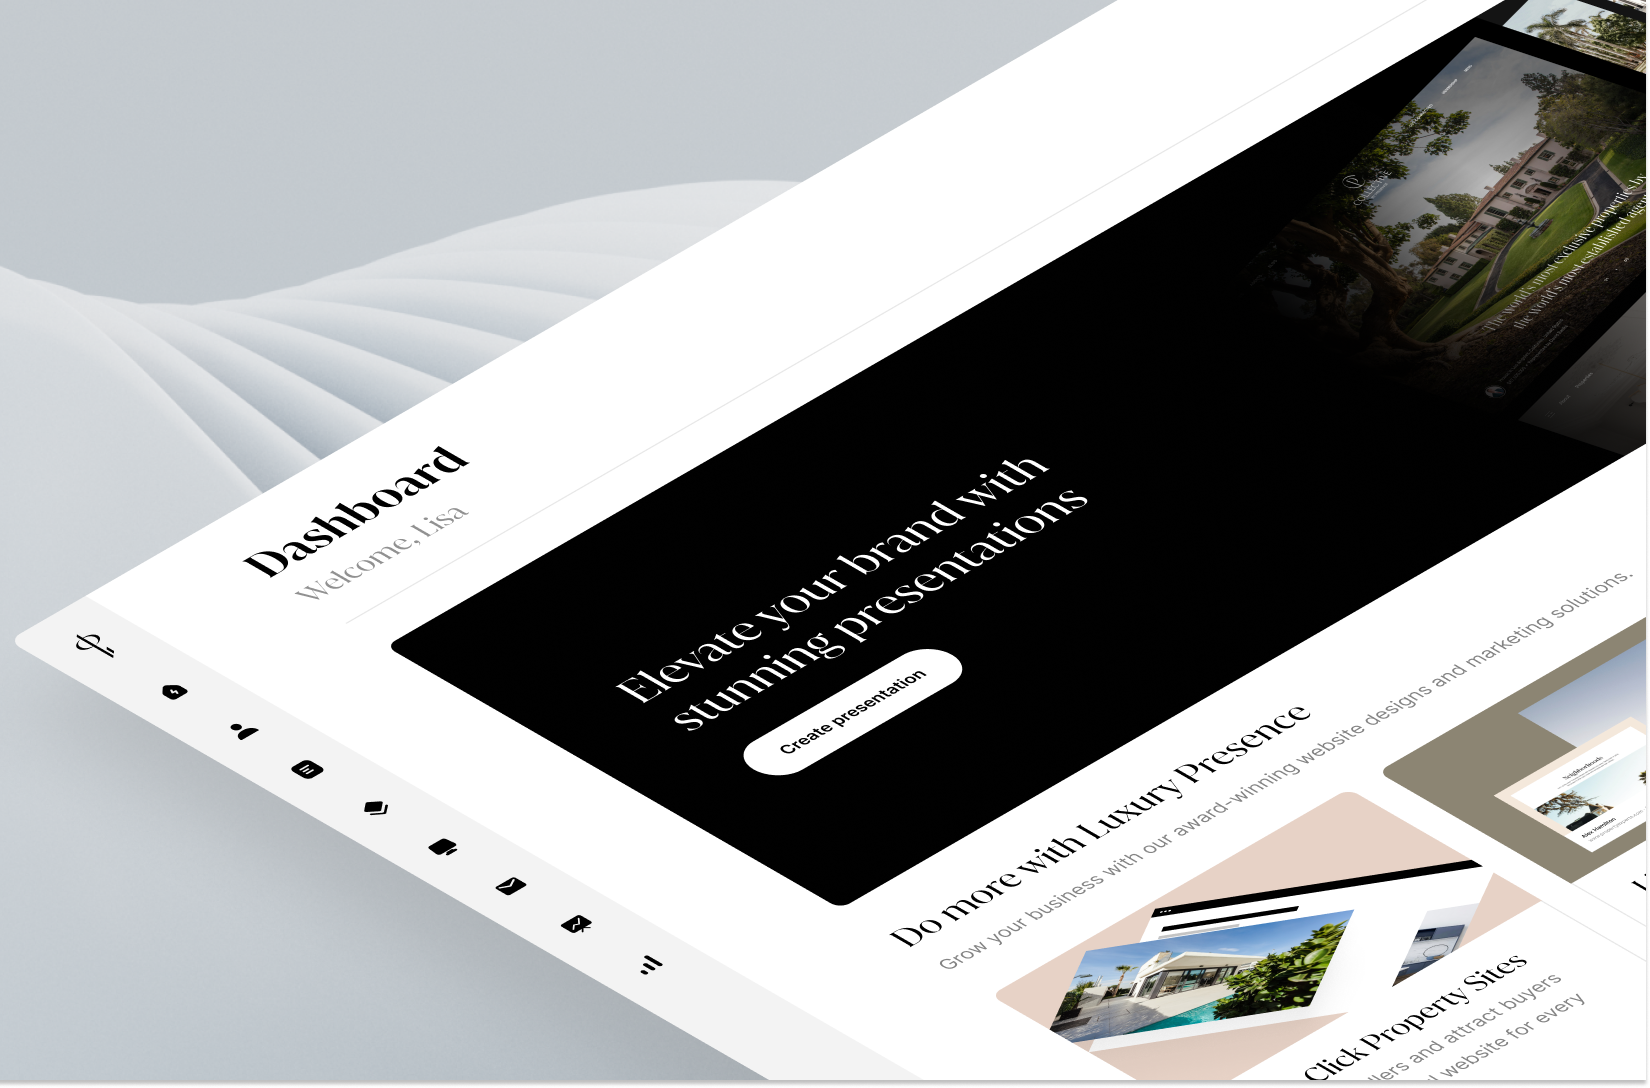
Elevate your brand with Luxury Presence

Virtual tours are meant to help you show off your listings, bring in more buyers, and increase your sales. Similarly, our suite of award-winning real estate website designs and expert marketing solutions are designed to help you attract more business and build your brand.
Get started with a free demo and learn how Luxury Presence can take your growth to the next level.


